0
0
Lifeboat repair & painting
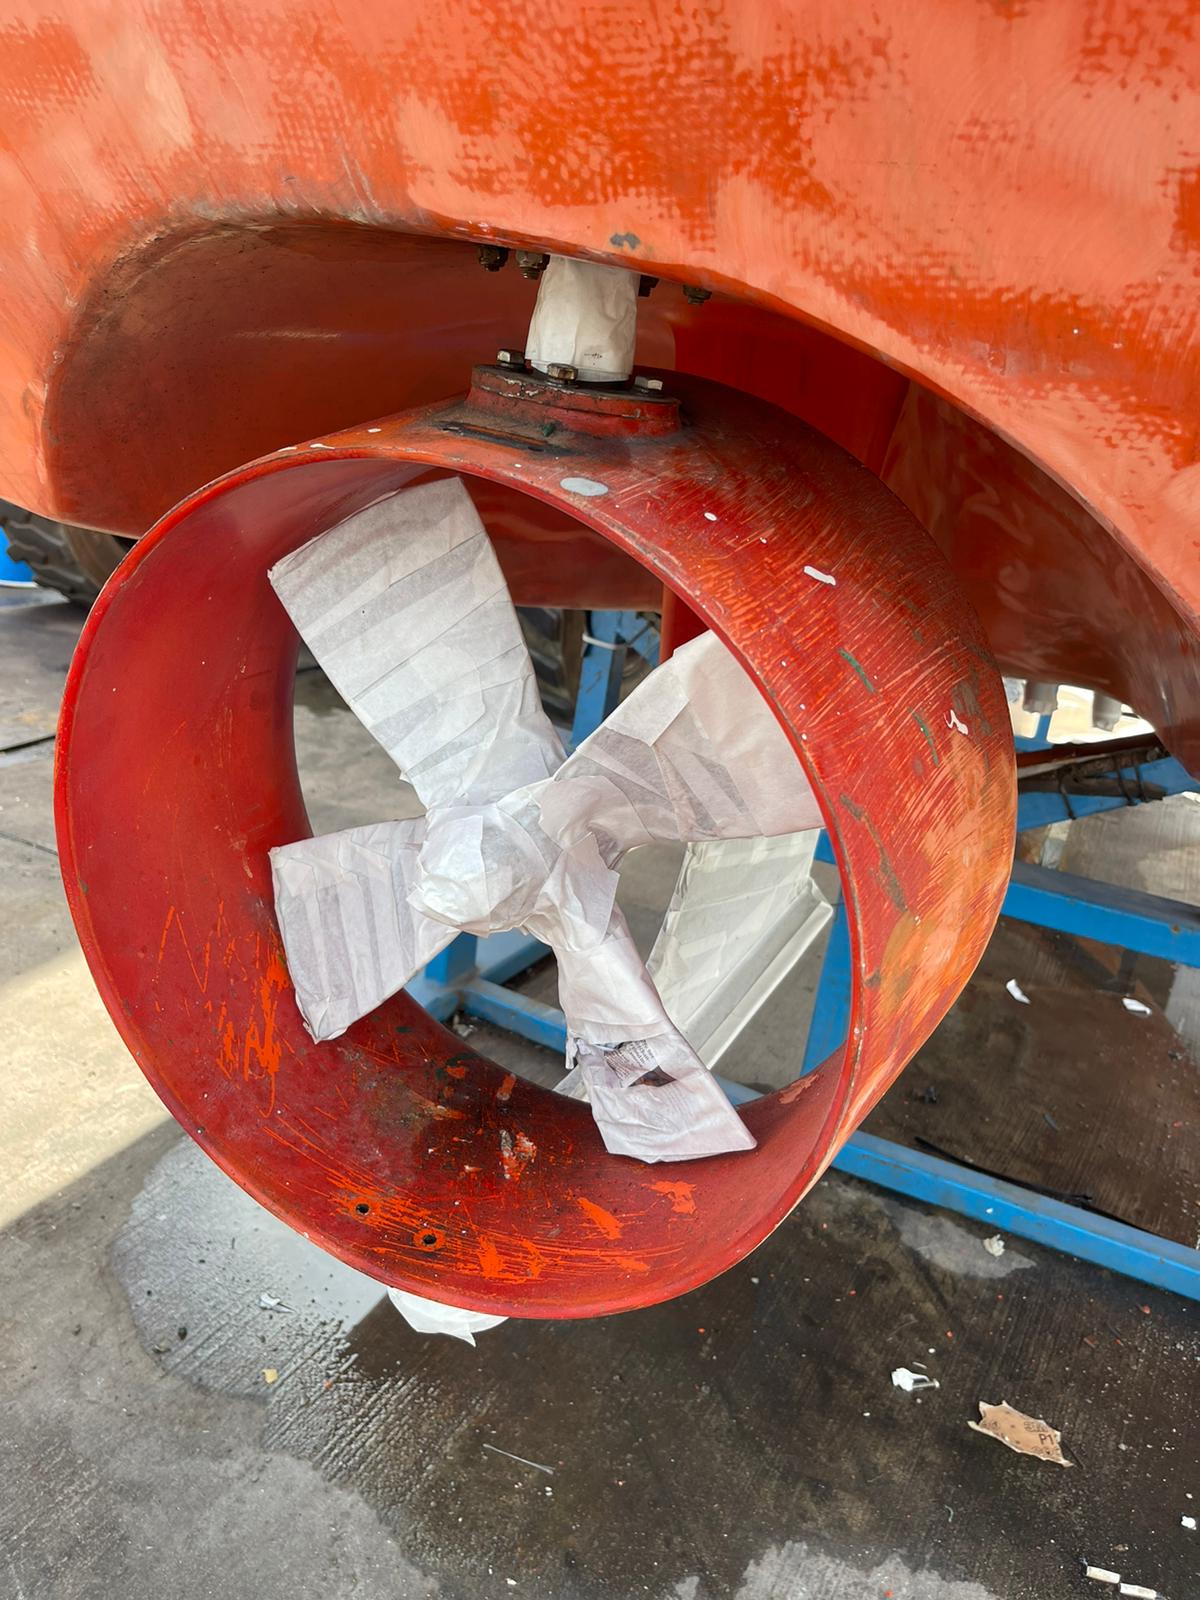
The painting process for lifeboats and rescue boats involves several steps, including surface preparation, priming, painting,
and finishing.


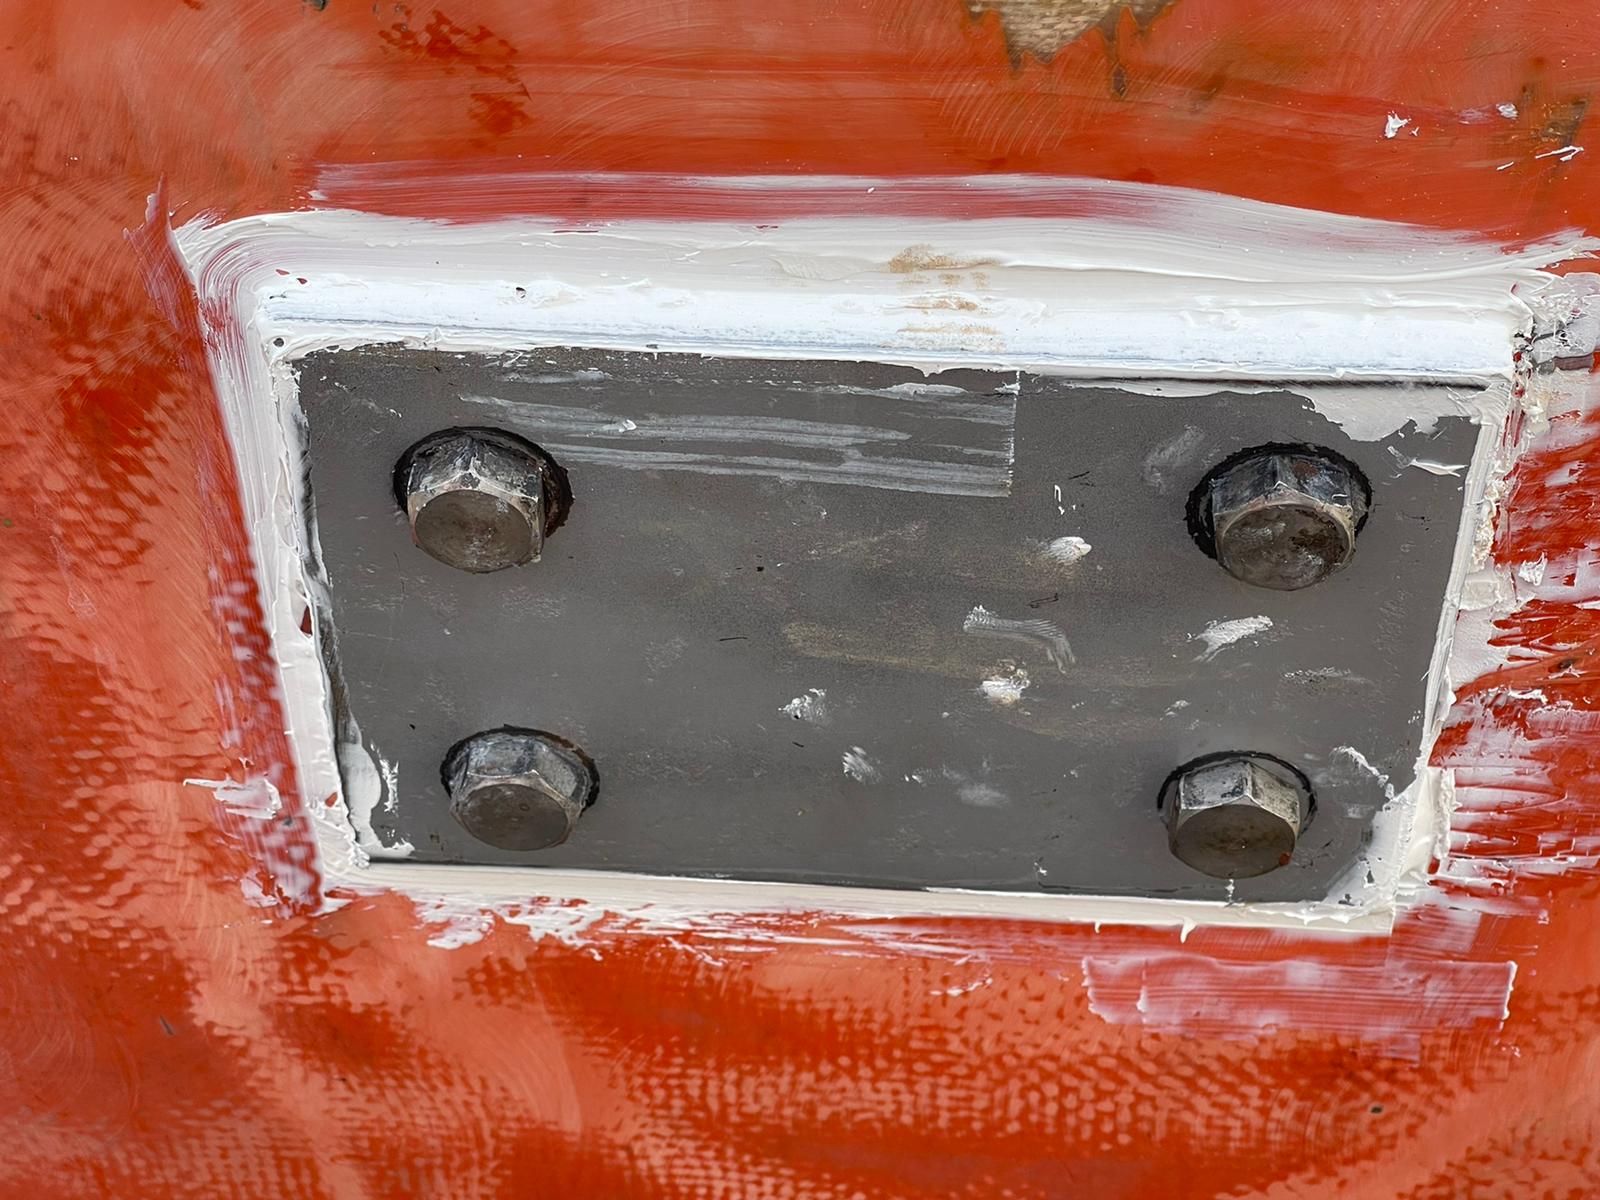
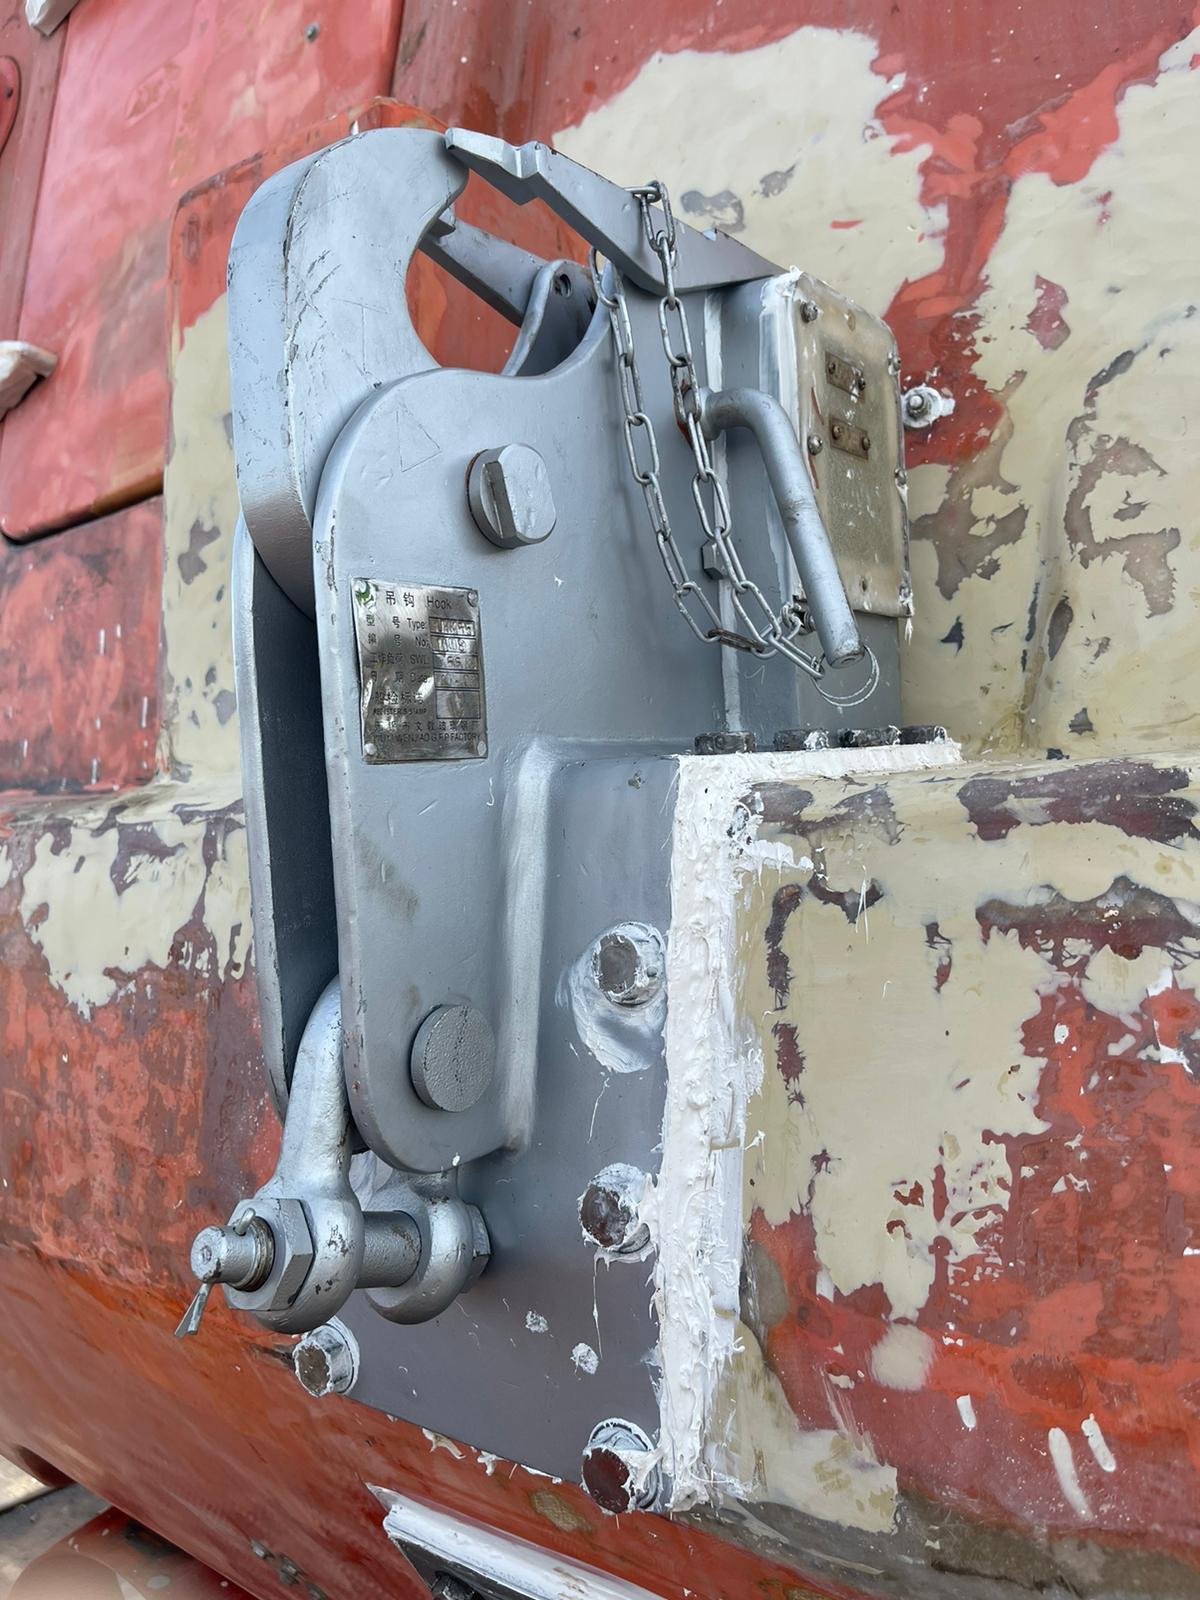
First, we change the release hook than proceed with the below
- The surface of the boat must be clean and free of any contaminants, such as dirt, oil, or grease, before painting can begin. The surface can be cleaned using a pressure washer or by hand scrubbing with proper solution. Any loose or flaking paint should be removed, and any dents or scratches should be repaired before priming
- Priming only when the surface is clean and free of contaminants, a primer coat should be applied. The primer helps the paint adhere to the surface and provides an additional layer of protection against corrosion. The type of primer used depends on the type of paint being used and the material of the boat.
- Painting After the primer has been applied and allowed to dry, the paint can be applied. The type of paint used depends on the material of the boat and the intended use of the boat.
- Finishing Once the final coat of paint has been applied, the boat should be allowed to dry for a specified amount of time. Once the paint has dried, any necessary finishing touches can be made. This may include applying a clear coat of paint to enhance the shine of the boat or applying decals or markings for identification purposes.
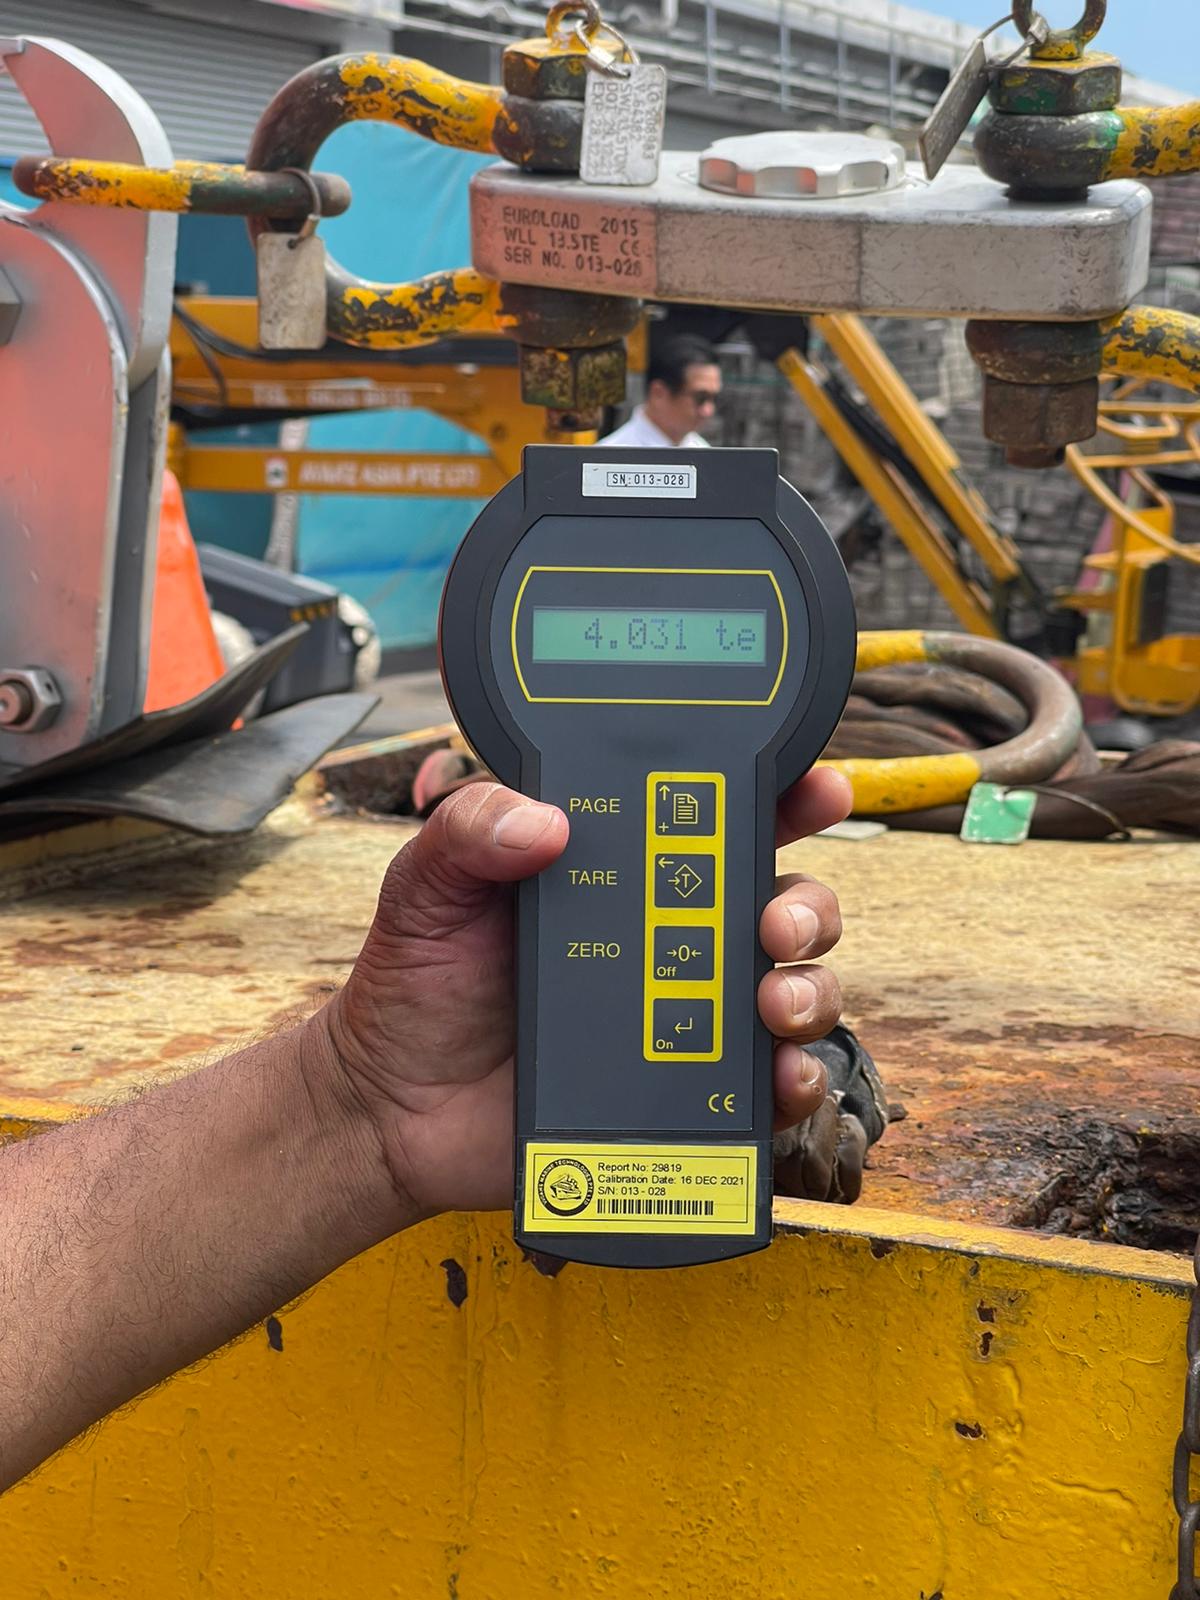
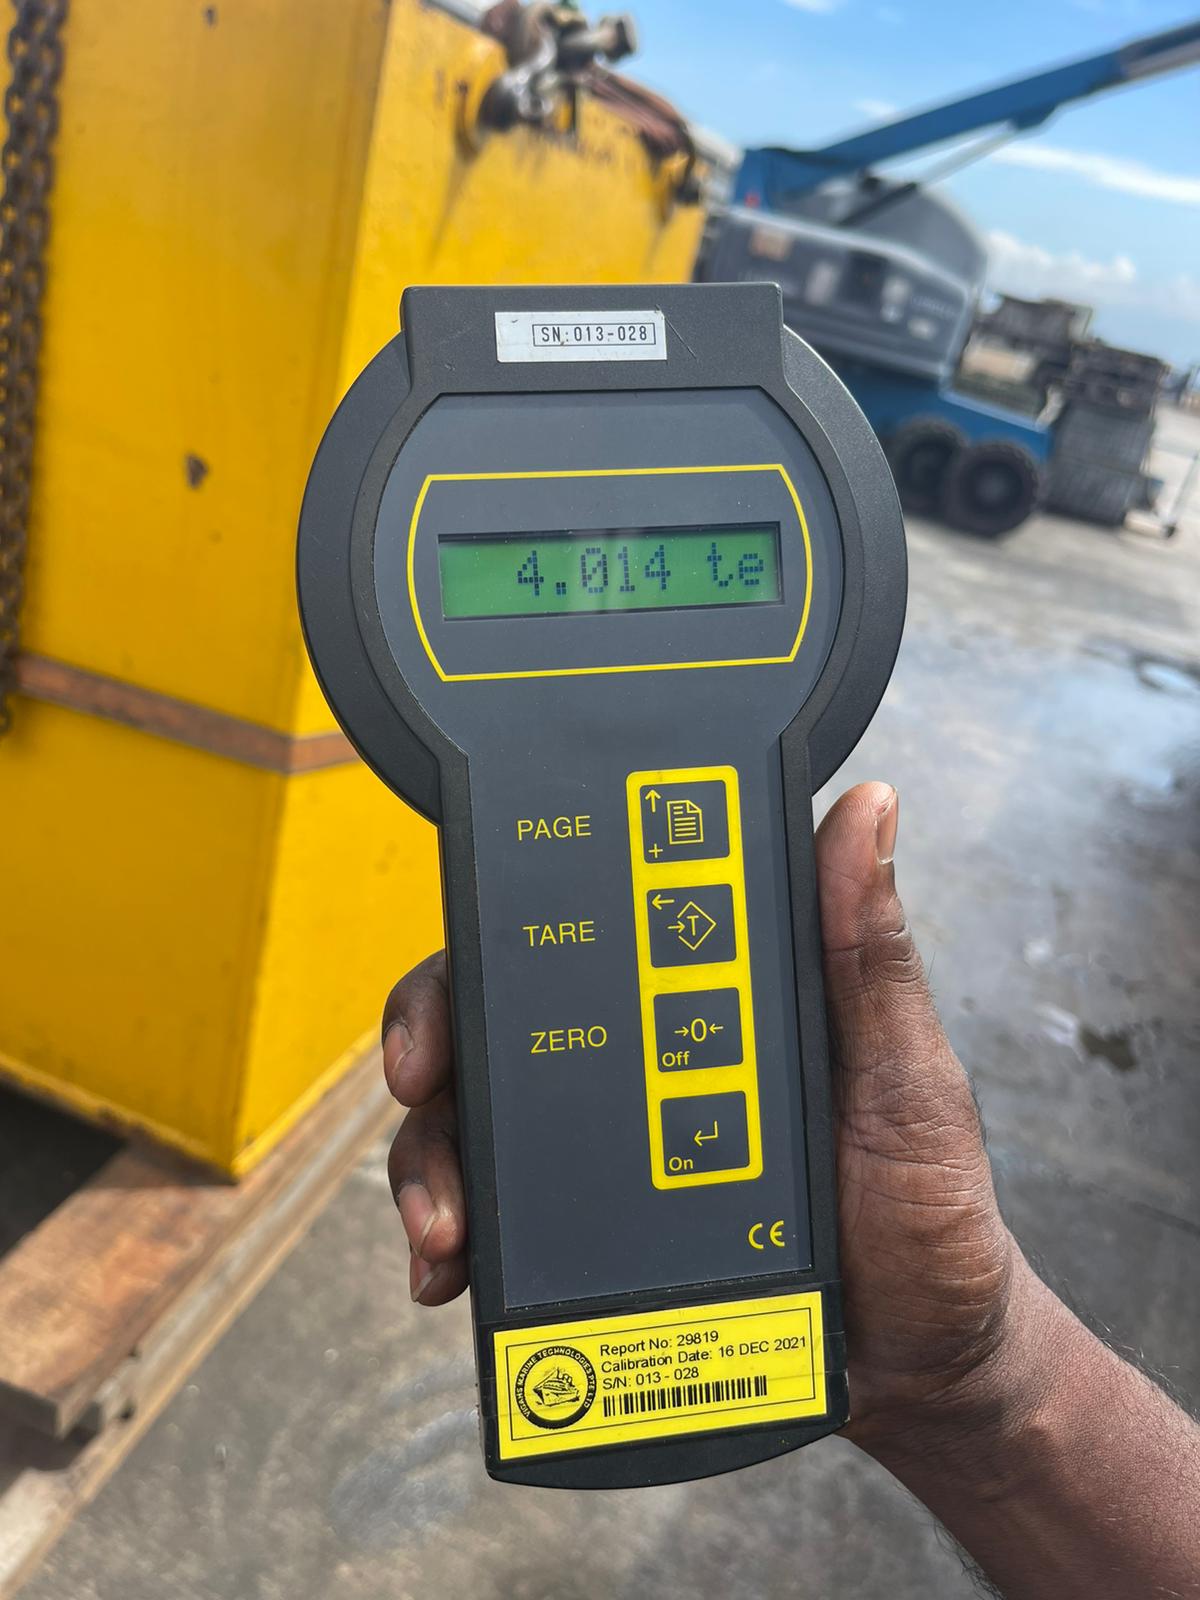
- After completion, we than proceed to do load testing for the lifeboat
| BMS | Shipyard Service |
| Location | Singapore |
| Maker | Vanguarde |
| Equipment Type | Lifeboat |
Gallery